Circuitron
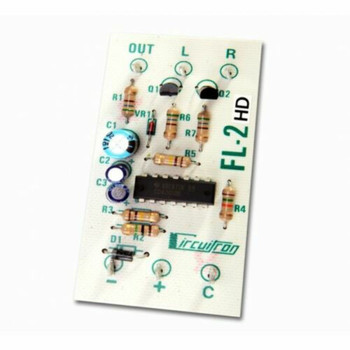
Circuitron 1302 EOT End of Train Flasher Red Light
- SKU:
- CIR1302
- MPN:
- 1302
- Weight:
- 0.35 LBS
- Shipping:
- Calculated at Checkout
Description
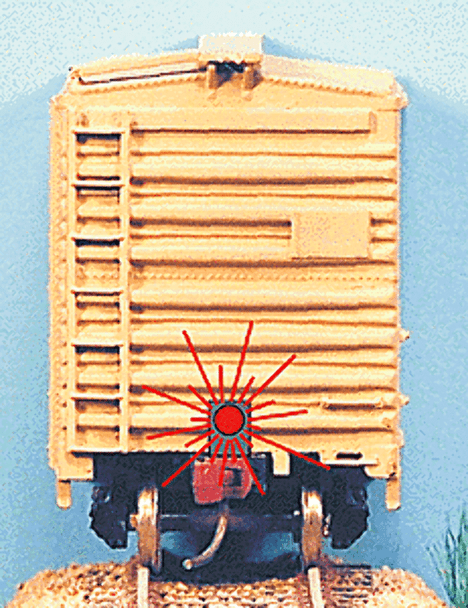
Designed to operate off a 3 volt power source which can be provided by batteries or by using a TP-1, TP-2 or TP-3 Track Power Adapter. Please read these instructions carefully for a successful installation. The LED provided with the EOT is close to scale size and shape for HO models and is only a little oversize for N scale. When properly prepared and painted, no additional housing is necessary. A larger housing can be constructed for larger scale models, or a larger LED may be substituted if desired.
PREPARING THE LED
A pair of fine needle-nose pliers will be helpful. Start by examining the LED. Notice that one lead is marked with a color band, or with a color mark on one side of the housing. This lead is the cathode or negative (-) lead. Bend both leads down tight against the sides of the plastic package. They must face away from the domed portion of the LED. One at a time, fold a lead around the bottom corner of the package and then make a 90 degree bend just short of the middle of the package. When you are finished, the leads should be parallel and very close together, but not touching. Hold the LED by the newly formed leads and file the dome down to the dotted line using a fine jeweler?s file. Work slowly in order to keep the face flat and parallel to the bottom. Finally, remove any file marks using 400 grit sandpaper. Cut the leads to 1/4? length. Tin the leads with the included solder as well as one end of the fine red and white wires. Carefully solder the wires onto the LED. White goes to the cathode (-). Insulate both connections with a coating of 2-part epoxy or thick ACC. After curing, paint the LED and wire assembly with two coats of white paint followed by your choice of top-coat colors. Silver and black are commonly used. After the paint is dry, use the 400 grit sandpaper to carefully remove the finish from the flattened front surface of the LED.
MOUNTING
The EOT Flasher may be mounted on top of the coupler or under the roof overhang on a caboose. Pass the wires through a small hole in the car body and cement the LED in place.
View AllClose
Additional Information
Brand: |
Circuitron |
Manufacturer: |
Circuitron |
Type of Item: |
Electronic Parts |


